Can't save project

Hello all,
first of all I would like to say that I am very happy that polygonjs.com exists. I am a 3d artist by profession (mainly using 3ds max). But I have no idea about javascript, webgl or other web development techniques (except for a few small projects I did with bubble.io). So I am very excited about the idea behind polygonjs. :heart_eyes:

Unfortunately I am still a bit clumsy in using the platform. E.g. I managed a local installation, but when saving my first project I get an error message. When I type ‘npm install’ in the terminal/shell (as described in the documentation), nothing happens.

If someone could give me a tip on how to fix the problem, I would be very grateful.

Hello @MDH, sorry about this. And thanks a lot for the screenshot, it really helps understanding the problem.

And it seems now that npm install does not do anything because polygonjs is currently running. So the command has not been able to start.

So I’d recommend either of those 2 methods:

  • stop polygonjs in the current shell (I use Ctrl+C on linux, but I’m not sure what is needed on windows). Then you should be able to run npm install (as long as you have npm installed).

  • open a new shell, go into the same directory you have started polygonjs from, and run npm install.

Then that will take a few seconds. And once it’s done, you should be able to save just fine.

It can definitely be confusing if you’re not used to working with command line or shell. I’ll see how I can clarify the documentation.

Hope that helps. Feel free to let me know if not. (and thanks a lot for the kind words! very glad that you like Polygonjs)

1 Like

Hi polygonjs

thank you so much! I closed the terminal (as I am using a mac and it looks like only one terminal instance can be open at a time) and tried you second method. This has solved the problem. :smiley: :+1:

Now I will try to learn the different node types in order to achieve some nice looking results ( someday … if I study hard enough :wink: ).

Oh, by the way. I’m not sure I understand these buttons correctly. The left one is to disable this node, the right one is to render the output of this node. Is that correct?

1 Like

@MDH
I actually meant to reply with my own account, it’s a bit less impersonal :slight_smile:

Glad that sorted it (and thank you for clarifying that you are using mac, not windows - even thought it’s obvious now that I look closer at your screenshot)

And you understood the 2 buttons correctly. The left/yellow one bypasses the node, and the right/blue one defines which node is evaluated (and whose output is added to the scene). I’m planning to add this to the documentation, as it should be more clearly indicated. In the various video tutorials, you can hear me refer to those as the “bypass flag” and the “display flag” (which is the same vocabulary used in Houdini, if you’ve ever tried that software).

Also, in case you haven’t seen yet, I’m currently adding examples for simple to advanced setups. Those can help understand how the various nodes work. That should hopefully make learning more fun. And if you have specific scenes you’d like to create and are not sure how, feel free to let me know, I always make a quick example scene to start from.

And it’s good that you mentioned bubble.io. I plan to add some integration to it, but haven’t found the time yet. This makes me put it higher on my todo list!

1 Like

Hey Gui,
thank you so much for responding so quickly to my post.

Unfortunately I have never worked with Houdini before. But node systems are of course very powerful tools. So I am very excited about what all is possible in polygonjs. :smiley:

Actually I came across this project because I have an idea in my head that I would like to try out and I searched the internet for possibilities how to realize it.
I would imagine some kind of interactive data visualization where the information comes from a database. Each data entry “spawns” an object. And each of these database entries has information and coordinates that it passes on to the object (position, color, scaling, etc.).

I don’t know much about SQL databases. Therefore I am even more pleased that you are planning a bubble integration. Maybe you could then connect the bubble own databases with polygonjs.

Do you think this could work?

Regards,
Mirko

Thanks a lot for explaining what you want to achieve. And yes, that sounds exactly the kind of projects I’ve designed polygonjs for.

I’d start like this:

  1. add a sop/dataUrl node to your scene.

This is the node whose job is to fetch a url, and translate that to 3d data. It will basically create points with attributes, and then you can use that to create what you want.

It expects a url which returns json data, like :

[
        {"P":[0,0,2],"scale": 0.7},
        {"P":[0,0,-2],"scale": 1.4},
        {"P":[1,0,-2],"scale": 1.0}
]

So you wouldn’t have to learn SQL, you would just need to get the data from your database with a url.

If you upgrade to 1.2.33, I’ve just added some presets to it, to give you a starting point.

And you can try it from this example, where the data from the returned json is used to drive the scale of sphere. And it could be used to drive anything.

  1. Load your scene on bubble.

Once you’ve saved your scene, you’d have to get the exported javascript files to connect with bubble. I’m not sure if it would be best to have a similar approach to webflow (where the files are uploaded to polygonjs cloud, and you load them from there - see tutorial), or if you should copy them on bubble.

Once you’ve uploaded the files where you need, you’d have to load the js and create the scene on your bubble app, with something like:

import {loadScene_scene_01} from './src/polygonjs/scenes/scene_01/autogenerated/loadScene'
const loadedData = await loadScene_scene_01({
  domElement: 'app'
});

(where you’d need to adapt the import path, change ‘app’ to the element you’d create the 3d viewer in, and replace ‘scene_01’ by the name of your scene).
You can also use the webflow tutorial above, or this repo to see how it is loaded. And when you export locally, it creates an index.html which also contains a similar snippet you could use.

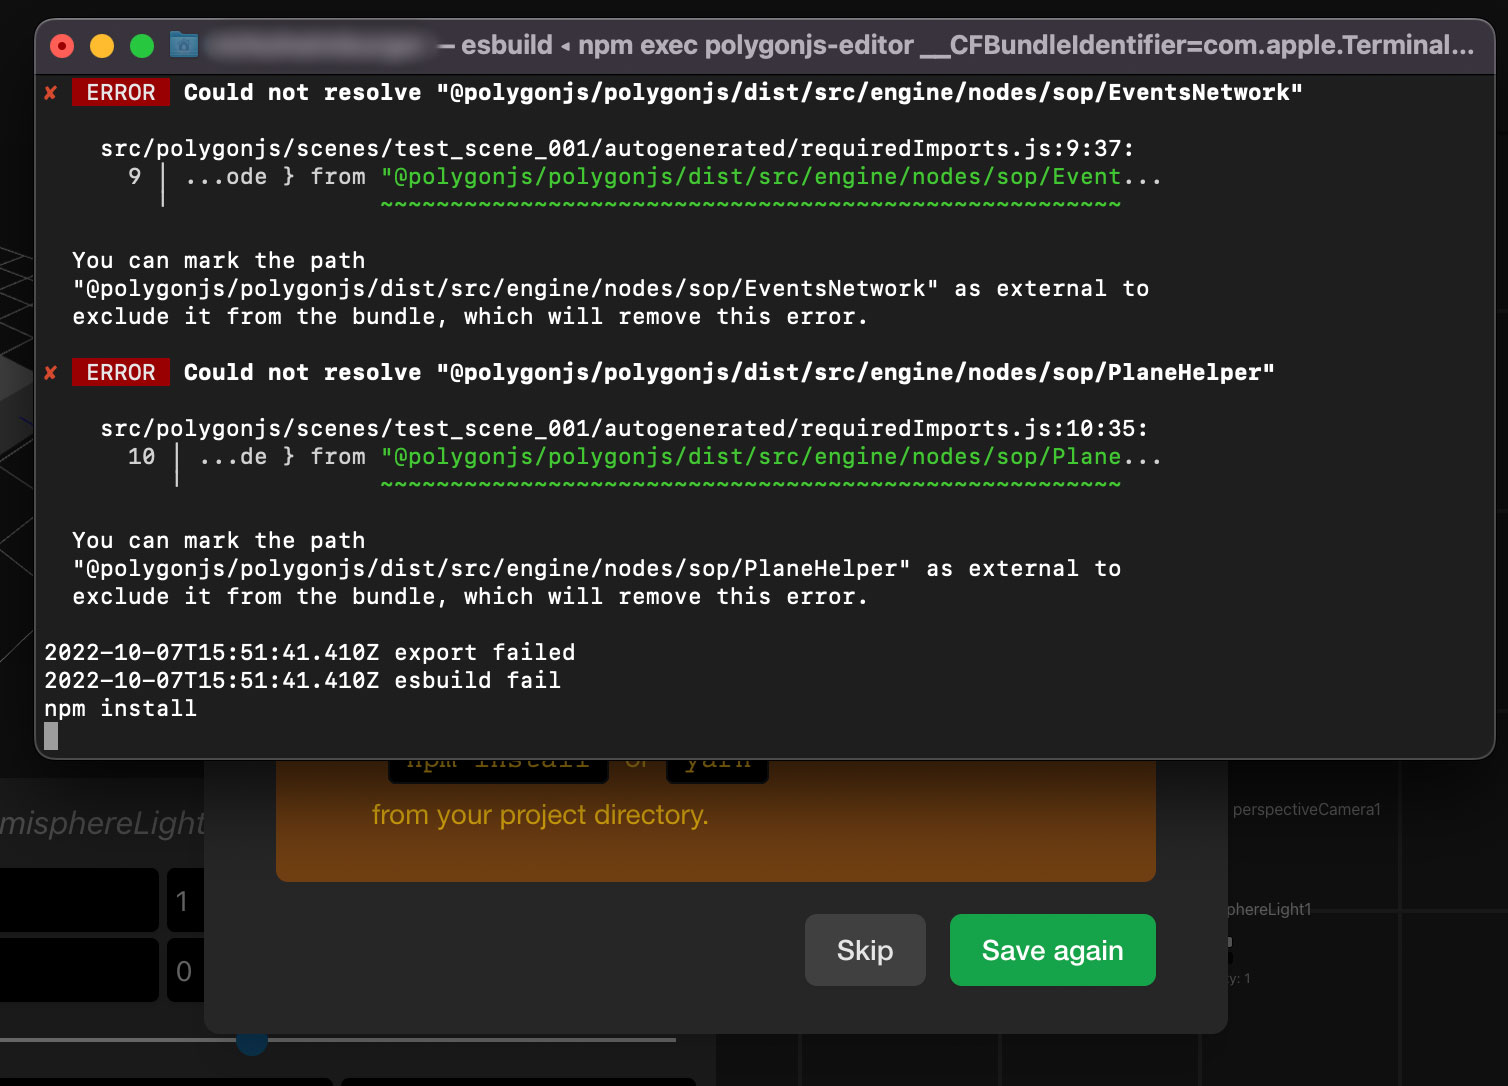
I’ll try and take a look at bubble this week, so hopefully I’ll be able to give better recommendation for this second part. And I’ll get back to you once I know a bit more. But hopefully this explanation can still help you get started. Don’t hesitate to let me know if anything is confusing of course.

1 Like

Wow, you are FANTASTIC! :raised_hands:

Really! I don’t think I’ve ever gotten such incredible support on anything. I am thrilled!!! :heart_eyes:

Today I had no time to do something along these lines unfortunately. But I’ll try to implement your tutorial this week and see if I can do it.

I suspect though that it will take me a while to learn the basic functions as I am still a complete beginner. :wink:

There are still so many simple things I haven’t figured out yet. E.G.

  1. is it possible to duplicate/copy a node?

  2. the “Force Recook” function is really useful to reinitialize the recalculation on changes. Is there also a button or command in the node group itself for this (kind of a refresh button)? Currently I always go one level up and right click on the node group to trigger the function.

  3. I scattered/copied a plane geometry along a sphere object. Then I added a Material to the plane object with a black/white alpha map. At first glance, it looks good. But if you look closely you can see that there are some problems with the geometries sorting (kind of a “depth sorting” problem I guess). Whenever the effect occurs, the alpha channel doesn’t seem to work properly either.
    I also noticed that the planes have a fine bright line at the edge. Maybe I need to add a UV mapping to the plane and scale the mapping up a bit to avoid such rounding errors? Or can the standard uv-mapping be set to “tilable”?

Here you can see both problems:

  1. Another thing I haven’t figured out yet:
    I would like to have the planes all look to the camera. As I understand it, the “lookAt” node might be the right path to choose. However, I have not yet understood how to enter the camera as a target. Simply copying the position (‘t’) values of the camera into the “target” vector3 input fields as absolute values didn’t work at least. Do you have a tip for me in this regards?

Thanks again for your amazing work AND this amazing support!
I wish you a good start to the week.

mirko

Ha, I’m really glad to read that, thanks a ton, it made my day!

And I’ll reply to your questions shortly, but let me just open new threads for each, it will makes the answers easier to find for new visitors.

1 Like